Update performed with the 1 click Upgrade module
If you are a Prestashop user you may have received an email a few days ago that sent you to update your project to the new version released on the market, namely 1.7.6.0.
In this guide, I will explain how to update your e-commerce from the previous version 1.7.5.0 to version 1.7.6.0.
Before starting, I will make you some clarifications:
- it is useless for you to emphasize the importance of updates to your e-commerce.
An updated project is less vulnerable to external attacks and therefore certainly more secure and stable; not to mention that it may have new features that can improve it from multiple points of view; - CMS updates, however, are not easy to perform and should be done by expert hands;
- if you upgrade to BASE315 you will have feasible updates already integrated for free in the annual maintenance.
If you are continuing to read it means that you already have some confidence with Prestashop and with the world of the web in general; well, then let’s not waste time and get straight to the point with our update.
Version of php
I specify that the update was performed using the PHP version 7.1.30; it is not certain that using themes or modules different from those used for this update, various problems may not arise.
The best thing would be to check the characteristics of each single component; which sometimes requires a considerable amount of energy and time.
Site and database file backup
Once you have chosen the correct php version (you may not even have to change it) you must first make a backup of the files and database of the site you intend to update.
Attention: it is also possible to backup using the 1 Click Upgrade module; however, I prefer to backup manually. Also because making the backup during the update would slow down the execution.
I assume that you know how to do it on your own without needing any further explanation.
After making the backup we can proceed with the update.
There are two ways to do this:
- With the 1 click Upgrade module
- Manually
This guide will show you the first solution.
I specify that although this module has been improved, it could still cause bugs and the update may not always be successful.
In the most serious cases, the bugs could make the site unusable; for this reason, it is essential to have backed up or otherwise have a reliable recovery system.
Furthermore, it is not recommended to update through this module if significant changes have been made to the project (core and graphic theme). In the latter case, it is preferable to opt for manual updating.
1-Click Upgrade Module
If you are in a position to work in complete safety, you can move on to the next phase; the use of the 1-Click Upgrade module.
If you have already installed it on your site go to Download new version Prestashop.
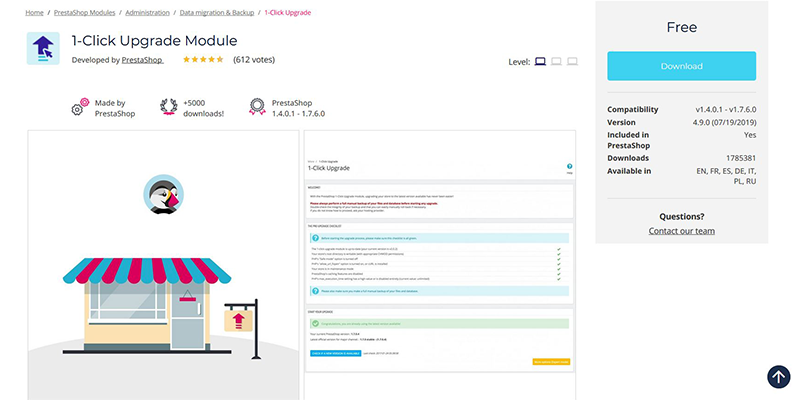
If, however, you have not yet installed it, you can proceed by downloading it from the following address:
https://addons.prestashop.com/en/data-migration-backup/5496-. html
Keep in mind that in order to download you must be registered with Prestashop.
By clicking on the Download link you will see a form to fill out.
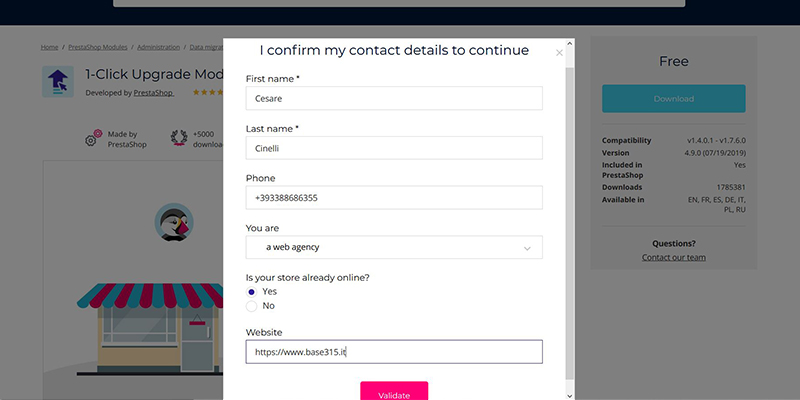
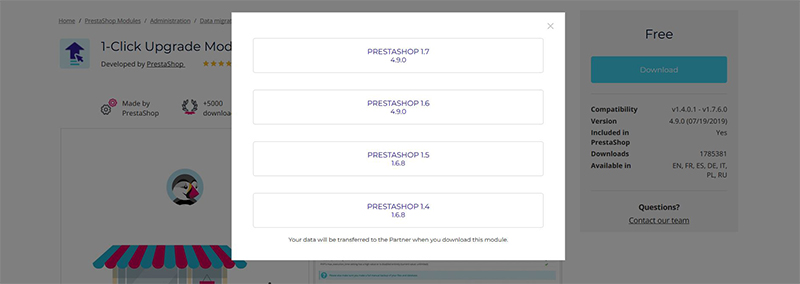
As soon as you have entered the necessary data, click on Validate and the following screen will appear.
Site under maintenance
Before proceeding with the actual update, put the project in maintenance as follows:
Store parameters => General => Maintenance => Enable store => NO
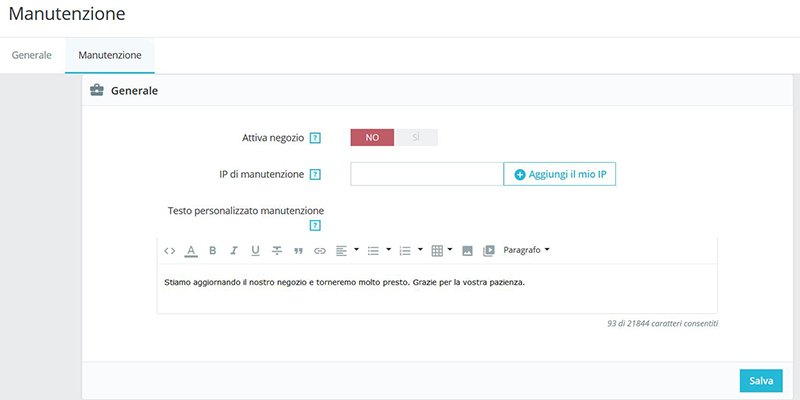
Note that you can also enter custom text that will appear to users who visit your site while it is in maintenance mode.
Then go to Modules => Module Catalog => Install a module button

Now click “Select File” and retrieve the file you saved from your computer.
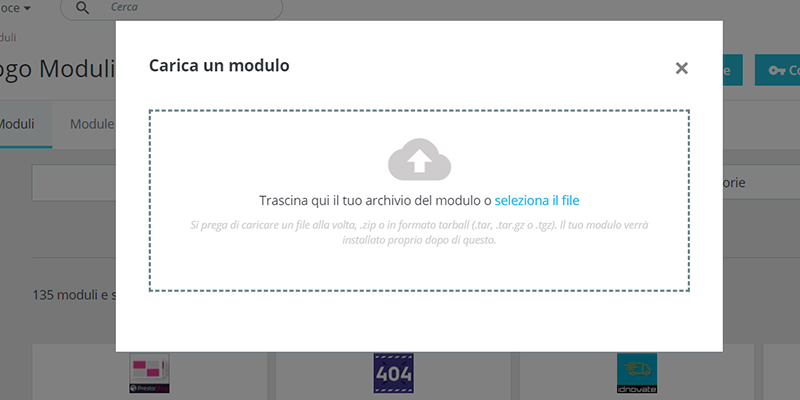
Importing the file will automatically install the new module.
An alternative and faster solution to install the module is the following:
Modules => Catalog of modules => enter the name of the module in the search field.
Once you have found the correct one, click Install.
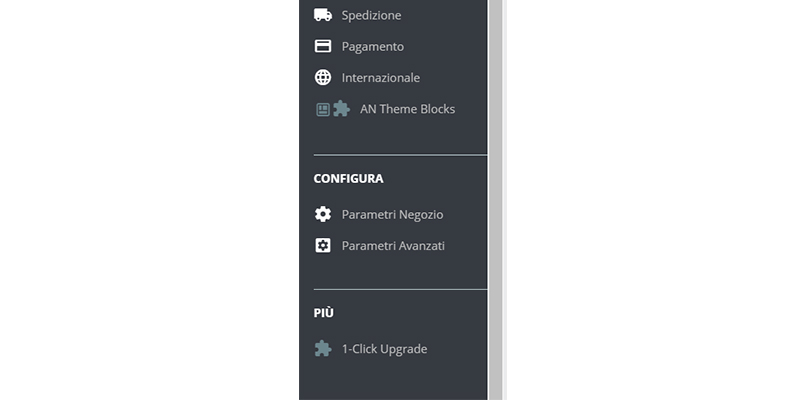
After installing the module, we will find in our dashboard (from desktop left column) 1-Click Upgrade.
Do you want to know how to increase visits to your website?
Book a free appointment online now.
Download new version Prestashop
At this point, you need to download the new version of Prestashop you intend to upgrade to.
You can download it from the following link:
https://www.prestashop.com/it/download
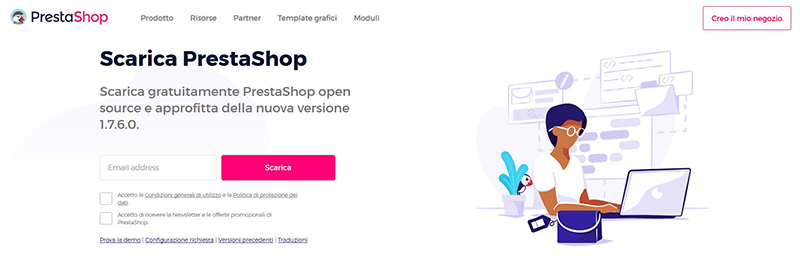
Now import it via ftp (I use FileZilla but there are several programs for managing ftp files).
Upload the file to the following directory: /admin/autoupgrade/download
Warning: your/admin folder may have a different name if, as recommended, you have renamed it for security reasons.
Module configuration and update launch
If you have already installed the 1 Click Upgrade module you must immediately put the site in maintenance.
If, on the other hand, you followed the guide from the beginning, your site will already be under maintenance.
In your left vertical menu (desktop view) click on “1-Click Upgrade”.
The first thing to consider is the “Checkup list before upgrade”; you will need to see all the green checks.
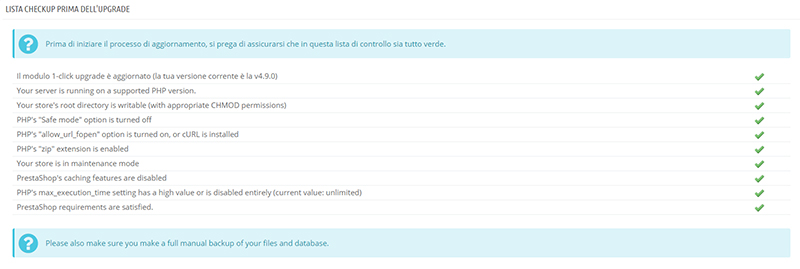
If you are an expert you can proceed with the settings by clicking on, this also depends on how you have configured the store.
As anticipated, I preferred to make a manual backup in advance, so I set both Backup Options to NO. Of course you are free to proceed differently.

As for the Update Options, it is advisable to leave the low value in the “Server Performance” unless you are very sure about the performance of your server.
As specified, in fact, “a high value can cause the update to fail if your server is not powerful enough to process the update tasks in a short time”.
The other options depend, as anticipated, on how the store has been configured.
For example, I had customized the emails so I set the last parameter YES.
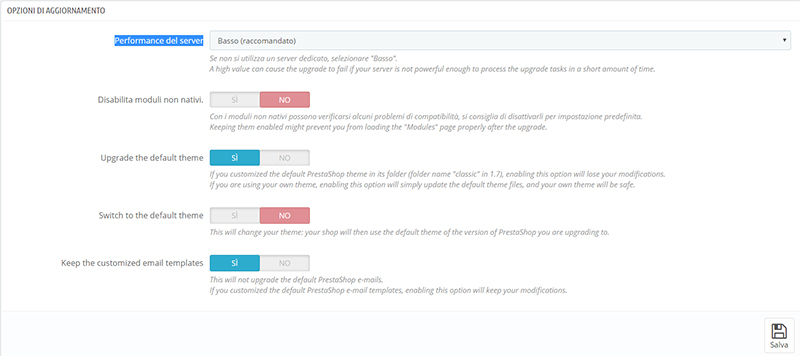
N.b.: Always remember to click on SAVE (at the bottom right after making your choices)
Now you just have to click on the UPGRADE PRESTASHOP NOW button!
Warning: If you see that the update does not start, it could be due to a permissions problem.
In fact, installing the module may have changed the file and folder permissions of your site.
Log in via ftp and verify that each folder has permissions set to 755 and each file to 644.
At this point, the upgrade should have been successful and your store should be updated to version 1.7.6.0.


