In the previous article I told you about how to integrate your Facebook page into your website through the appropriate plug-in while in this post I want to explain how to integrate the Google+ badge.
As I had previously explained, it is important to highlight all the channels on which we are present on our websites and vice versa so that our users can choose their favorite to be able to follow us.
As for Google+, the first thing you need to do is connect to the address below:
https://developers.google.com/+/web/badge/
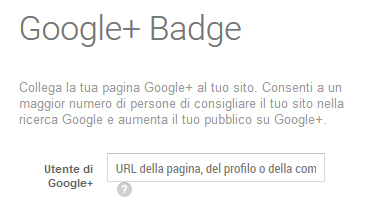
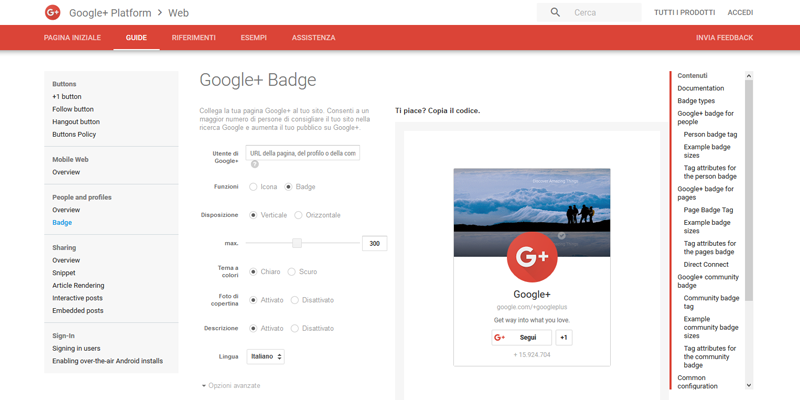
Once the page is displayed, you will find in the central column a series of fields to be set to your liking that will allow you to customize your badge according to your needs.
The first field available, and fundamental, requires the insertion of the url relating to your page, your profile or your community.

If you don’t remember the address by heart, just connect to your page/profile/community and copy the address shown in the url field.

If you are already logged in, so you are already logged in to Google services, you will see, without having to re-enter the url, the pages you already manage or, by clicking on the “Other” item, you will have the possibility to add them a new.
The second item is called Functions and allows you to choose whether to create an icon or a badge.
Do you want to know how to increase visits to your website?
Book a free appointment online now.
Creating an icon
If you have decided to check the item “ Icon ” you have the possibility to assign a custom name and to decide between three preset sizes: Small, Medium, Large.
Here is an example:
Once you have obtained the result you want, copy and paste the snippet (portion of code obtained) that you find under the preview of your icon into your website.
Creating a badge
If you have chosen, instead, this option as the first choice you will have the possibility to select the portrait or landscape mode.
The options available to you are as follows:
Color theme: light or dark
Cover photo: enabled or disabled
Description: enabled or disabled
Language
Note that for the horizontal version, the “Cover photo” and “description” options are not available.
Here is an example:

Once you have obtained the result you wanted, copy and paste the snippet (portion of code obtained) that you find under the preview of your badge on your website.
If you need help installing the badge on your website, you can contact me by sending me an email from the Contact page of our website.


