Additional features designed for companies
Basically, the Business and the traditional version of WhatsApp do not differ much.
The use is the same, except for the fact that WhatApp Business has additional features, designed specifically to keep in touch with its customers, simplifying and accelerating relationships.
In this article we explain how to install and configure WhatApp Business.
In a few steps you will be able to complete the operation and you can start using the new messaging system, available for both Android and iPhone.
Download and install WhatsApp Business
- Go to your Store (Play Store or Apple Store depending on the device you are using) and in the search filter type the name of the app you are looking for (WhatApp Business).
You will find the following icon:
To avoid the risk of getting confused and inadvertently downloading imitations, check that “WhatsApp Inc”, the company that developed the original version, appears under the name of the app. - Click on INSTALL to start the installation process

- Once finished click on OPEN
 TKeep in mind that once installed, the app will also be accessible from its icon that will appear on your Home screen.
 - When you enter the new messaging system for the first time, you will first be asked to accept the terms and conditions of the service.
After having read it, if you want to continue, click on the ACCEPT and CONTINUE button.
WhatsApp Business configuration
At this point, if you have completed all the steps correctly, the app will be available on your device.
You just have to configure it.
Proceed as follows:
- Verify phone number In the screen you see below, enter the phone number you intend to use with WhatApp Business.

Keep in mind that you will not be able to use the same phone number associated with the traditional version of WhatsApp. Therefore, you will have to either associate another phone number (if you have a dual sim device) or choose to use the same number already in use in the traditional version which, by doing so, will be disassociated from the latter to be associated with the Business version.
- At this point, a verification code will be sent to you via SMS, which you will need to enter to continue.

- After entering the verification code, you will be asked for a series of permissions (such as access to your address book, photo gallery and multimedia content on your device) and, if the telephone number you have associated was already in use. with the traditional version, if you want to restore the last available backup.
- We are almost at the end: you just have to create your profile, entering the name of your business and choosing its type in the drop-down menu that will appear just below.

- At this point you are ready to start using your WhatApp Business.
If you used a phone number previously associated with the traditional version of WhatsApp, you will automatically see those already started appear among the chats.
Do you want to know how to increase visits to your website?
Book a free appointment online now.
WhatApp Business additional features
By selecting the 3 dots at the top right for Android and then the settings item (or directly the Settings item if you use an Iphone) you can access the Activity Settings.
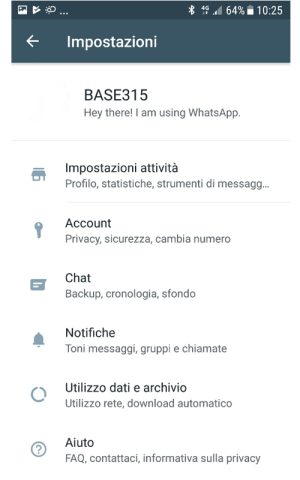
Here you will find 3 messaging tools.
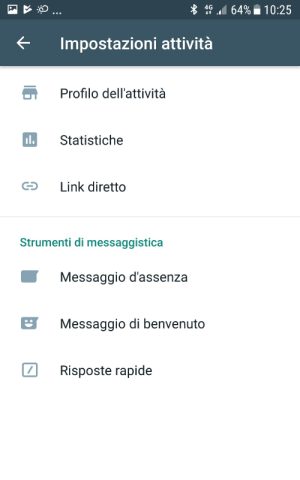
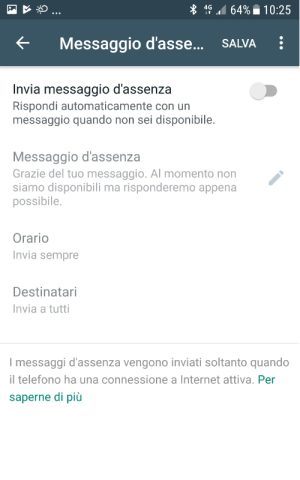
Absence message
In this section you can set a message that will appear by default when you are not available or at the times that you can set under the heading Hours.
Remember that, first of all, you must activate the function by moving the lever from left to right, as shown in the following image.
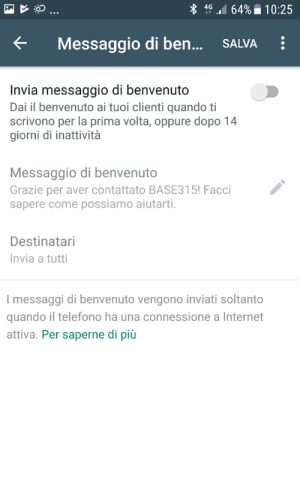
Welcome message
Like the previous one under the heading “Welcome message”, you can set the message that your customers will receive when they contact you for the first time.
Quick responses
This is the new feature that I think is the most interesting among those introduced.
As you can easily guess from the expression, it allows you to set predefined responses and to associate each of them with a link consisting of the symbol/with the link name.
For example, you can associate a message with which you thank the customer for purchasing one of your products or services to the shortcut/thank you (already preset).
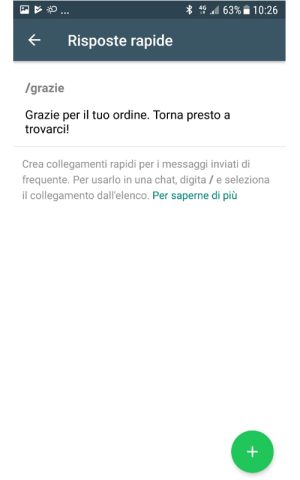
You can create others to respond quickly to the requests that your customers often and willingly make of you: opening hours, the contact details of your business, your website for those who wish to visit it, etc….
To add new ones, just click on the button with the + symbol.
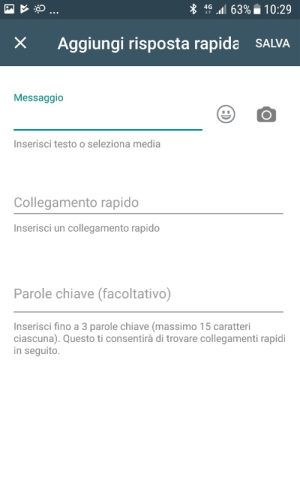
In this way, communicating the information your customers request will be quick and easy.
Direct link
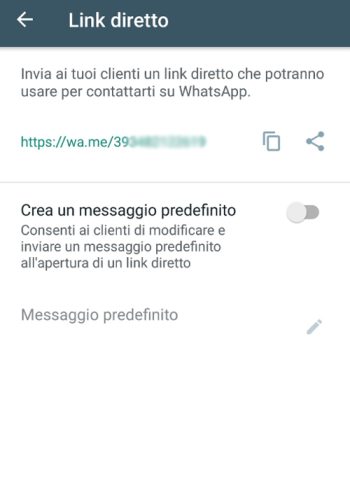
The Direct Link function allows you to create a link to chat with a contact that you have not saved in memory.
This is a useful feature that allows you to avoid saving contacts with which you plan to interface only once.
Just copy the link you find in this section by clicking on the relevant symbol and send it to the person concerned.
By opening the link they receive, your contact will directly open a chat to talk to you.
